Showing posts with label diy. Show all posts

Tuesday, April 14, 2015

Dip Dyed Reusable Canvas Bags

Reduce. Reuse. Recycle. We all recognize the three "R"s that we learned in grade school. Earth Day is around the corner and its time to get thinking about reducing, reusing, and recycling. Using recycled cotton canvas bags while shopping is a great way to reduce our waste while doing routine activities. These bags are sturdy enough for the heaviest groceries, and are 100% reusable and machine washable. I dip-dyed a few of my favorite canvas totes to add a little color and fun into my shopping routine, and today I'm sharing them with you.

DIY Dip-Dyed Reusable Canvas Bags - reduce waste by bringing your own shopping bags to the market.
 
Canvas bags don't have to be boring. Being made from 100% cotton means that these bags can be dyed, decorated, and otherwise customized to fit your personality. I chose to dip-dye my bags with an ombre effect in two different colors. These fun, vibrant bags are great for taking along to the grocery store, to the Farmer's Market, or even packing up to take to a picnic in the park.

I started shopping with reusable bags because I was sick of the waste from one-time use plastic bags.  Shopping with reusable bags is becoming a way of life for many Californians. While the state can't agree on a unified plastic bag ban, many cities in California have adopted bans on plastic grocery bags. My town adopted a plastic bag ban in January 2014, meaning they stopped providing plastic bags to customers and charge 10 cents per paper bag and offer reusable bags at most registers for a fee.

Don't pay for paper bags in the grocery stores! DIY Dip-Dyed Canvas Bags

Who wants to pay more at the grocery store? I sure don't!

Wednesday, June 4, 2014

Give 'em the McVicker! Learning the basics of pickling at Maker Faire

A few week's ago, our family headed to the Bay Area Maker Faire in San Mateo, California. This was our second year going, first year for our teenage son, and we already knew a little about what to expect. Maker Faire's tag line is "The Greatest Show (and Tell) on Earth" and it really is that! They have everything from robotic toys, flying drones, pyrotechnic displays, and even a Tesla Coil stage. While my husband went for the open source hardware, DIY drones, and 3D printers, I was much more interested in heading over to the Homegrown Village, where they hosted lectures and workshops on various culinary topics.

For more on Maker Faire, along with the list of locations and dates head to their

On Sunday afternoon, I headed over to the Hands-On Homegrown Workshops to attend Kelly McVicker's workshop highlighting the basics of pickling. Kelly is the owner of McVicker Pickles based in San Francisco. She sells pickles, mustards, and a bacon jam, and also offers workshops on a regular basis. Through her craft, she channels her grandmother's spirit. When teaching, she wears her grandmother's homemade apron. Her pickles are innovative and delicious, she carries varieties from dill pickles to spicy dilly beans to pickled beets, grapes, and more!


McVicker taught the basics of both vinegar pickling and fermentation pickling. Both of the pickles she made were refrigerator pickles, not intended to be stored on the shelf. She started with the vinegar method, pickling grapes in a brine of apple cider vinegar, garlic, chili peppers, and spices. She then moved onto the fermentation method, pickling carrot slices with dill, chili peppers, garlic, and pickling spice.
 
The workshop at Maker Faire was a perfect introduction course for pickling first timers, and also a great learning opportunity for those that had experience in the culinary field. Sitting at my work station was a boy of maybe 8 with his father, and 2 lovely women who were first time picklers. I came home with my carrot slices fermenting away and a jar of McVicker's Spicy Dilly Beans, perfect for a Bloody Mary. A few days later, my carrot pickles were ready to store in the refrigerator.
 

Since I didn't get a chance to vinegar brine grapes, I chose to test my new knowledge on some cherries I picked up at the farmer's market. Using McVicker's ratio for the vinegar brine, I spiced my cherries with ginger, star anise, mustard and peppercorns. To see my full recipe, ingredient amounts, and method, please head over to my Sweet and Spicy Pickled Cherries recipe.
 

Thursday, March 27, 2014

Quick Fix - Picture Frame Hanger


The other day I up-cycled a mirror into a really cute chalkboard. I have no idea what it's original use was, but it was too small for any practical purpose. The frame is about a foot square, with a small 4" mirror inside. It didn't have any hardware to mount it to a wall, so I made my own! Using some craft wire and two thumb tacks, I rigged my own picture hanging mount so I could hang my new spring chalkboard.


As you can see in the image, I pressed a thumbtack into the wood on either side of the mirror. You might need to hammer them in gently to get started, depending on how hard the wood is. Then I wrapped the wire once around each pin and cut it, leaving a 2-inch tail. I wrapped the tails around the thumbtacks to secure the wire without needing to make knots.

I now have a cute decor item that I made for just a few dollars. I put it up in my kitchen so we can see it when we walk in. Since I hung it using a Command hook, I can easily move it around the house. I hope it will become part of my Easter mantle. I'm working on some other Easter decorations to go with it, including an Easter egg tree and a bunting. I have so many ideas up on my Easter Fun Pinterest board to choose from for inspiration.


My chalk pen came in yesterday, and let me tell you, I like it much more than writing with a stick of chalk. My handwriting is still pretty bad though. If you want to see really bad, you should see me try to write in chocolate on a cake...

I do not recommend using this technique on anything heavy. My frame weighed less than a pound, and did fine with this method. if you had a picture hanging kit, it would probably be better for anything larger or heavier. 

Monday, March 24, 2014

Spring Chalkboard from an Up-Cycled Mirror


I had family come over yesterday for a barbeque, so I have been cleaning my house trying to make it look halfway decent. With a very active toddler, there is only so much I can do during the week. I managed to take some bags and boxes to Goodwill to donate, but before I did, I rummaged through them one last time, just to make sure that the kids had only thrown donate-able items and not broken toys or clothes with holes in them.
 
I'm glad I did too, because I found this gem in there! I don't know where this mirror came from, or what its purpose was, but I had previously set it aside "to do something with" years ago, and put it in the Goodwill box when 6 months or so had passed. I'm glad I discovered it again, because this time I had a purpose for it!
 
I made this cute little chalkboard, perfect for dressing up the mantle or entryway!
 
Here was my inspiration:
$2 Trash to Treasure Chalkboard by Making Home Base


Mirror
White acrylic paint or primer
Chalkboard paint-See Note 
Mod Podge
1 square of scrapbook paper (I went to Michael's and got 1 for $0.59)
Brushes
Painter's tape
 
Not pictured:
Rubber scraper for smoothing out air bubbles in the paper
X-acto knife for trimming the paper
Sandpaper for smoothing the edges of the paper after trimming
 
Note: I recommend finding chalkboard paint specifically for use on glass or glazed ceramic. I used the Martha Stewart chalkboard paint, and it was difficult to use on glass. Live and learn, I will use it for other chalkboard applications in the future.
 
1. Prime the frame using primer or white acrylic paint. I covered the mirror with painter's tape first.
2. Add the chalkboard paint. Follow the directions on the bottle. Most will need to let cure for at least 24 hours after it is dry before using chalk on them.
3. Time to Mod Podge. I applied Glossy Mod Podge to the back of the scrapbook paper, then smoothed out any bubbles with a rubber scraper (found at your restaurant supply store for $0.79).
4. I used the X-acto knife to cut out the mirror/chalkboard and to trim around the edges. This way I didn't have to be as accurate when applying the scrapbook paper.
5. Apply two coats of Mod Podge to the top to seal everything. Once dry, lightly sand the edges.
6. Your new chalkboard is now ready to be part of your Spring or Easter décor!


This was my first attempt using chalkboard paint, I definitely learned some things! I will be decorating my mantle for Easter in the upcoming weeks and I plan to feature this. As you can see, I am not the best artist, so my stick figure people and fried-egg flowers will just have to do!
 
I remembered I don't like writing in chalk (memories of grade school writing on the blackboard). I have ordered a chalk pen that I hope will make writing easier.


Monday, March 17, 2014

St. Patrick's Day Kiss Party Favors

Happy St. Patrick's day! I have been having fun these past few weeks putting up a few decorations and making sure I have something green to wear. I made these little favors for fun, but you could use them to decorate a mantle or surprise your kids/spouse with a bit of chocolate goodies. These would also make a cute place card/favor for hosting a dinner party. I had all the supplies on hand, making this a no-cost craft (my favorite kind!).


First things first, the supplies.
  • Tall shot glasses: I bought these at Target in the dollar section a few years back. Try your local dollar store, thrift store, or even a restaurant supply store for inexpensive shot glasses.
  • The printable: if you are following this blog you might recognize these from my St. Patrick's day photo props. They are the perfect size for this!
  • Craft sticks, glue, and a bit of tape: to put the printable "on a stick"
  • Hershey's Kisses and mini M&Ms: I simple separated the green ones out, or you could pick up a bag of green M&M's from your local party store. Really, any small green candies would work in this.
1. Stack 3 Hersey's Kisses inside your shot glass.
2. Pour some green M&M's on top, gently tapping to get them all the way to the bottom.
3. Stack another 3 Kisses on top.
4. Pour in another handful of M&M's, tapping them down a bit.
5. Add your printable on a stick, and there you have it. Super simple, super cute party favors!


Saturday, March 15, 2014

Three Dollar Photography Backdrop

After reading up on blog photography, I got a better understanding on how to really make your pictures stand out for your blog and on Pinterest. I saw some behind-the scenes photos and found some great tips for improving your photography skills. I pinned a bunch on my Pinterest board under Tips and Tricks-Blog and Photography.

The first thing I needed to improve my photography was a blank canvas to act as my backdrop. Think of it as step zero. I picked up some foam-core board at my local dollar store, taped two together for a sturdy background, then placed the third underneath for the base. When not in use it folds flat, perfect for storage.

Without a backdrop, I would have to creatively avoid eye-sores like my well-loved/well-abused kitchen table, and my unorganized pantry while still trying to get blog-worthy shots. I am still learning the ins and outs of the lighting in my home, so having one less thing to worry about is a plus!


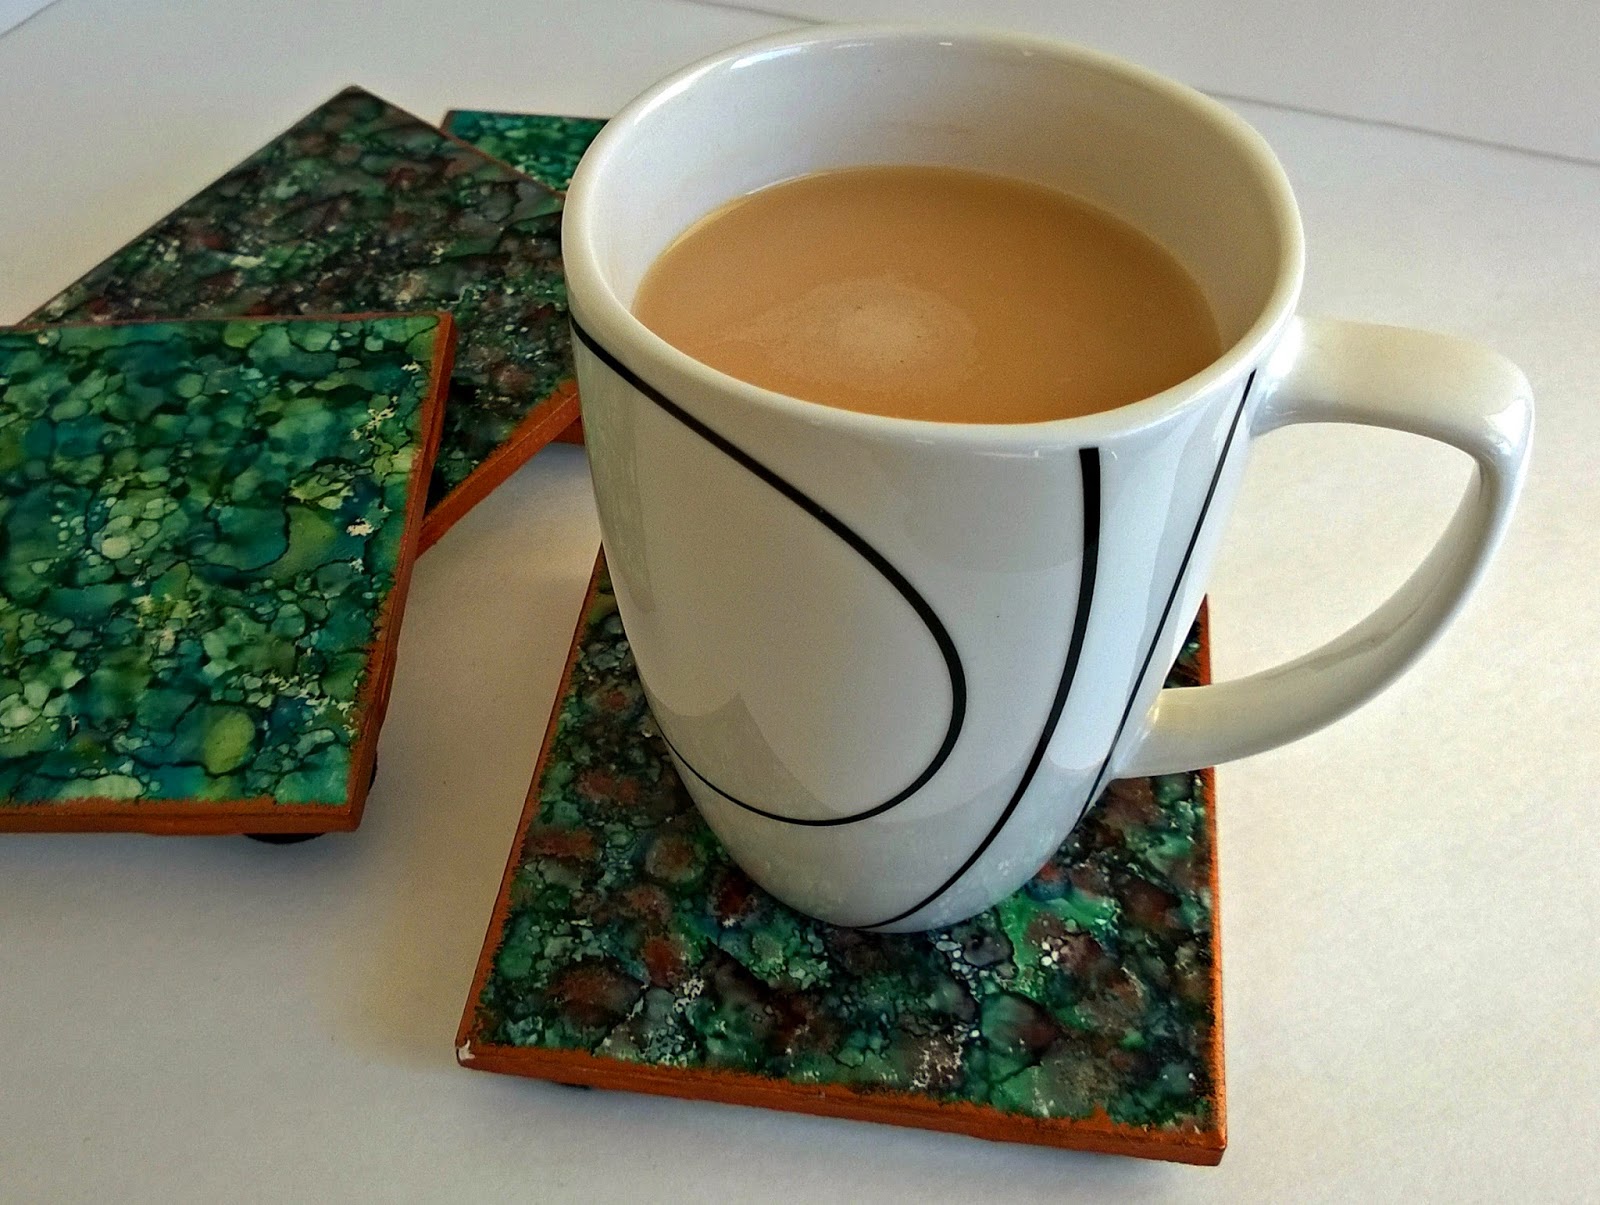
I can use it as a white background, like with my morning Chai tea...


...or change my color palette simply by adding a fabric drape. Here is a Mandarin Ginger Fizz behind a striped teal number.
Speaking of fabric, doesn't it just remind you of spring? It reminds me of robin's eggs. I think I'll pick up a few more yards (and learn to sew while I'm at it) so I can make a fabulous spring skirt out of it!

Wednesday, March 5, 2014

Decorating for St. Patrick's Day: Photo Prop, Free Printable

With St. Patrick's Day coming, I think most people are a little "green" with envy. But why should those with Irish blood have all the fun? Here are two printable photo props so we can all have a little fun! I got the inspiration for these from last month's Valentine's Day on a Stick.
 
Cut them out, fold them over a craft stick, and get snapping! Or use them to decorate around your house, maybe stick them in a potted plant, or in a candy dish on the mantle, or hide them somewhere for that special someone to find!


Monday, March 3, 2014

Decorating for St. Patrick's Day: Lucky Shamrock Bunting

Wow, what a whirlwind weekend! My youngest turned 2 years old, we had family come for a visit. Since we will be having a joint birthday party at the end of the month for S and Big Brother, we just had a low-key birthday dinner with cupcakes for dessert Saturday night. This weekend, Elder Scrolls Online hosted a beta event, so I stayed up a bit later than usual. Yes, I play video games on occasion. More like I try to play video games but at the end of the day, sleep usually wins out.

 
I also created this bunting to decorate for St. Patrick's day, using items I had on hand. Remember our marble painting from last week? I told you I was going to use them in a St. Patrick's day craft, so here they are!

Our green and gold marble painting were perfect for this. They got a little curled after they dried, so I flattened them out under a stack of heavy books overnight. I created a template from a quick search on Google images and traced it onto some cardboard. I punched holes in either side, and strung it up on cream colored yarn. I made the bunting to fit my fireplace, but then moved it to the windows in our breakfast nook to keep little hands off of it. I made two smaller bunting for the small windows using a similar template. The length of the larger bunting is 56", the smaller ones are 26". I hung them all using small Command hooks, that way I didn't have to use unsightly tape or drill holes in the wall.


It is really difficult to take pictures of my breakfast nook during the day since it is completely backlight. Here you can see what the finished product looks like, as well as see the two smaller buntings that I added to the side.

I love the way it turned out! It was a lot of tracing and cutting (17 four-leaf clovers and 10 three-leaf), but otherwise a simple craft to take an afternoon on, and a great way to showcase my son's art!


Friday, February 21, 2014

Replanting Marjoram with my little helper


It feels good to get my hands dirty two days in a row. 
I have a habit of killing plants in pots if they are outdoors. I think I just don't water them enough. So far my marjoram plant has been doing great, but I wanted to transfer it to my raised garden bed. Since I actually had two plants in one pot, I decided to put the smaller one indoors, and plant the larger one outdoors.
Meanwhile, S-bug found a ladybug
 To pot the marjoram indoors, I used this navy blue terra cotta pot. I used a glossy spray paint on some extra terra cotta pots I had, and painted the saucer as well. Using a few coats thin of the spray paint and sanding any drips away between coats, I finished painting them over a day and a half. It's such an easy way to customize your pots. The larger pot is also one that I spray painted. It was a salmon-colored plastic pot before I decided to use a metallic sage color on it to better match my color palette. 
Using a potting soil blend, I transplanted the smaller bunch of marjoram into the blue pot, and watered well. I had a second blue pot, so I put some chives in it. I picked up a 4 inch pot of chives on sale at the garden center when I bought the beets and snap peas. I was going to plant them in my garden bed, but changed my mind. I potted the chives in the center of the pot, and then planted chive seeds around the seedings. I'm hoping that when they start growing in, it will give the pot a fuller look. 


I transplanted the larger bunch of marjoram directly into my garden bed. I'm hoping it will thrive there. My garden bed will eventually be used for just herbs and leafy greens, so I have been filling it up with perennial herbs. So far, I have rosemary, thyme, oregano, and tarragon. Afterward, I brought the hose around to water everything, when S decided that he wanted to do the watering. He's getting into the stage where he wants to do things himself, so I let him hold the hose.


Wednesday, February 19, 2014

Early Spring Planting and Plans for More Raised Beds

I love my garden bed that we built 3 years ago. My husband built it out of redwood and it has held up nicely. We found the plans for it from Sunset Magazine. We omitted the PVC parts in ours. So far I have not had to cover it in winter. Built with 2x6s and 4x4 posts, it stands about a foot high and is 8 feet by 4 ft. Last year, I had tomatoes, zucchini, cucumbers, peppers, peas, beans, basil, parsley, and other herbs growing.


After the summer harvest, I converted it to my winter garden, adding broccoli, Tuscan kale, fennel, and onions. My parsley plants survived though our mild winter (although every resource tells me these are annuals). My oregano and tarragon and starting to show new growth, and my rosemary and thyme are hearty as ever. My volunteer arugula from last year's seed are filling in patches. Yesterday I added sugar snap peas and two types of beets to fill out the box. I have a little bit of room left, that I will fill in with herbs. I will move my marjoram out of its container, plus I want to add some chives. I have more arugula seeds that I can add as well, plus I have red chard seed that I need to use up. It is amazing when you think of how much food can grow in such a small space.


I took the time to draft up a plan for building 4 new raised garden beds around my existing box. Good thing too, because my existing garden bed will be full before March! I'm going to need to put my tomatoes somewhere, and don't forget the basil. I wanted to add something that would look nice, so I didn't just want to put more rectangular boxes up. The two larger side beds will be 10 feet by 4 feet, with a cut out to accommodate a two foot pathway between beds. The square beds will be 4 feet by 4 feet, and two feet high. I plan on using these for my vining plants, like my cucumbers and squash.
 
 
The total cost of the 4 boxes should be about $350 if using lumber from the hardware store. I'm hoping to find a cheaper place to pick up the wood to reduce our cost. 
Stay tuned for updates!

I want to know what your gardening plans are for the year, or what you have already planted. You can share your stories below or on Instagram (creativemamamessyhouse) with #CMMHgreenthumb. I'd love to hear from you or see your pictures.


Thursday, February 13, 2014

Paper Conversation Hearts for Toddler Play

I have a confession to make. Conversation hearts are one of my favorite seasonal candies. So, of course, when Valentine's Day rolls around, I buy more than a few boxes of them. This year I controlled myself, only buying 8 boxes. I was inspired to make paper conversation hearts with personalized messages for my youngest. We could still enjoy the novelty of conversation hearts, without the sugar-high. I was excited to see that they added blue to the mix this year, so I made my hearts in the same colors. The nice thing about this craft is that it didn't cost me any money, as I had all the supplies on hand. 


Using heavy card stock, I folded three sheets in half to be able to make the six colors. In my stash of acrylic paints, I found pink, yellow, red (to mix with yellow to make orange), green, blue, and purple. I mixed a dime sized amount of paint with about a teaspoon of water to create a vibrant watercolor effect. I then used a foam brush to paint my paper, leaving some lighter and darker streaks. I then let it dry overnight.

In the morning they were dry, but the edges had started to curl, so I placed the three sheets under some heavy cookbooks for the day. By 4 pm, they were much flatter, and I could start cutting my hearts. I made a heart template out of another piece of card stock, and started tracing hearts on the backside of my pages. And then cut, and cut, with a sharp pair of scissors until they were all cut out. If I had a large heart-shaped punch, my job would have been easier, but I endured.

With my hot pink pen in hand, and a box of candy conversation hearts as my muse, I got to work writing messages of love on my hearts. As this is a lesson in early literacy, I created a mix of standard messages and more personalized ones, like "MOMMY/DADDY LOVES YOU" "MAY I HAVE THIS DANCE?" and "CUTIE PI" plus my pet name for him "LOVEBUG".


If you liked this, also check out


Wednesday, February 12, 2014

Valentine on a Stick Craft and Free Printables

These cute valentines on a stick are perfect to put anyone in the Valentine's day mood! You can use them to decorate your candy bowl, or add a small touch to a bouquet. Make a lot and hand them out to friends and family. Slide a lollipop inside, instead of using the craft stick, for a sweet something extra, or attach a bag of Kisses with a bit of curling ribbon for some whimsy.

Happy Valentine's Day!
Renee


Step One: Print. Each template comes with 3 copies on a page, so you can make lots of valentines!
Step Two: Cut out the template around the edges
Step Three: Fold along the line. This is your back and front.
Step Four: Tape a craft stick on the back (white side) of one half.
Step Five: Glue together and let dry. You can now pass out your valentines, or use them as decorations.

You can share your Instagram pictures with me using hashtag #creativemamamessyhouse. I look forward to seeing your creativity!