Monday, March 31, 2014

March Wrap-Up and Recap


The end of March marks my first full month of blogging for Creative Mama, Messy House. How exciting! I joined a blogging group, decorated for St. Patrick's Day, and added some great recipes that have gotten a lot of positive response.


On March 15th, I joined the Blogging Bunch Facebook group and started the Blogging Bunch's 31 Days to Build a Better Blog challenge. It is based on the book 31 Days to Build a Better Blog by Darren Rowse. It feels so wonderful to have a group of bloggers that I can rely on when I have questions, and who can give me honest feedback when I ask for it.
 

Creative Mama, Messy House got a Facebook page of its own, you should visit! There add photos and crazy toddler antics that you might not see on the blog itself. Also, be sure to find me on Instagram for sneak-peek photos before they hit the blog! I passed my first 1,000 page views last week! I spent the weekend improving the overall look of my blog. I updated my header to be easier on the eyes, as well as added social media buttons. My little blog is starting to look so grown-up!

What happened this month

This month started full-force with my S-Bug's 2nd birthday. We made these Carrot Cake Cupcakes from Sweet Pea's Kitchen topped with vanilla buttercream. He was such a cutie-pie when the time came to sing Happy Birthday.

I focused a lot of my creative time making decorations for St. Patrick's day.


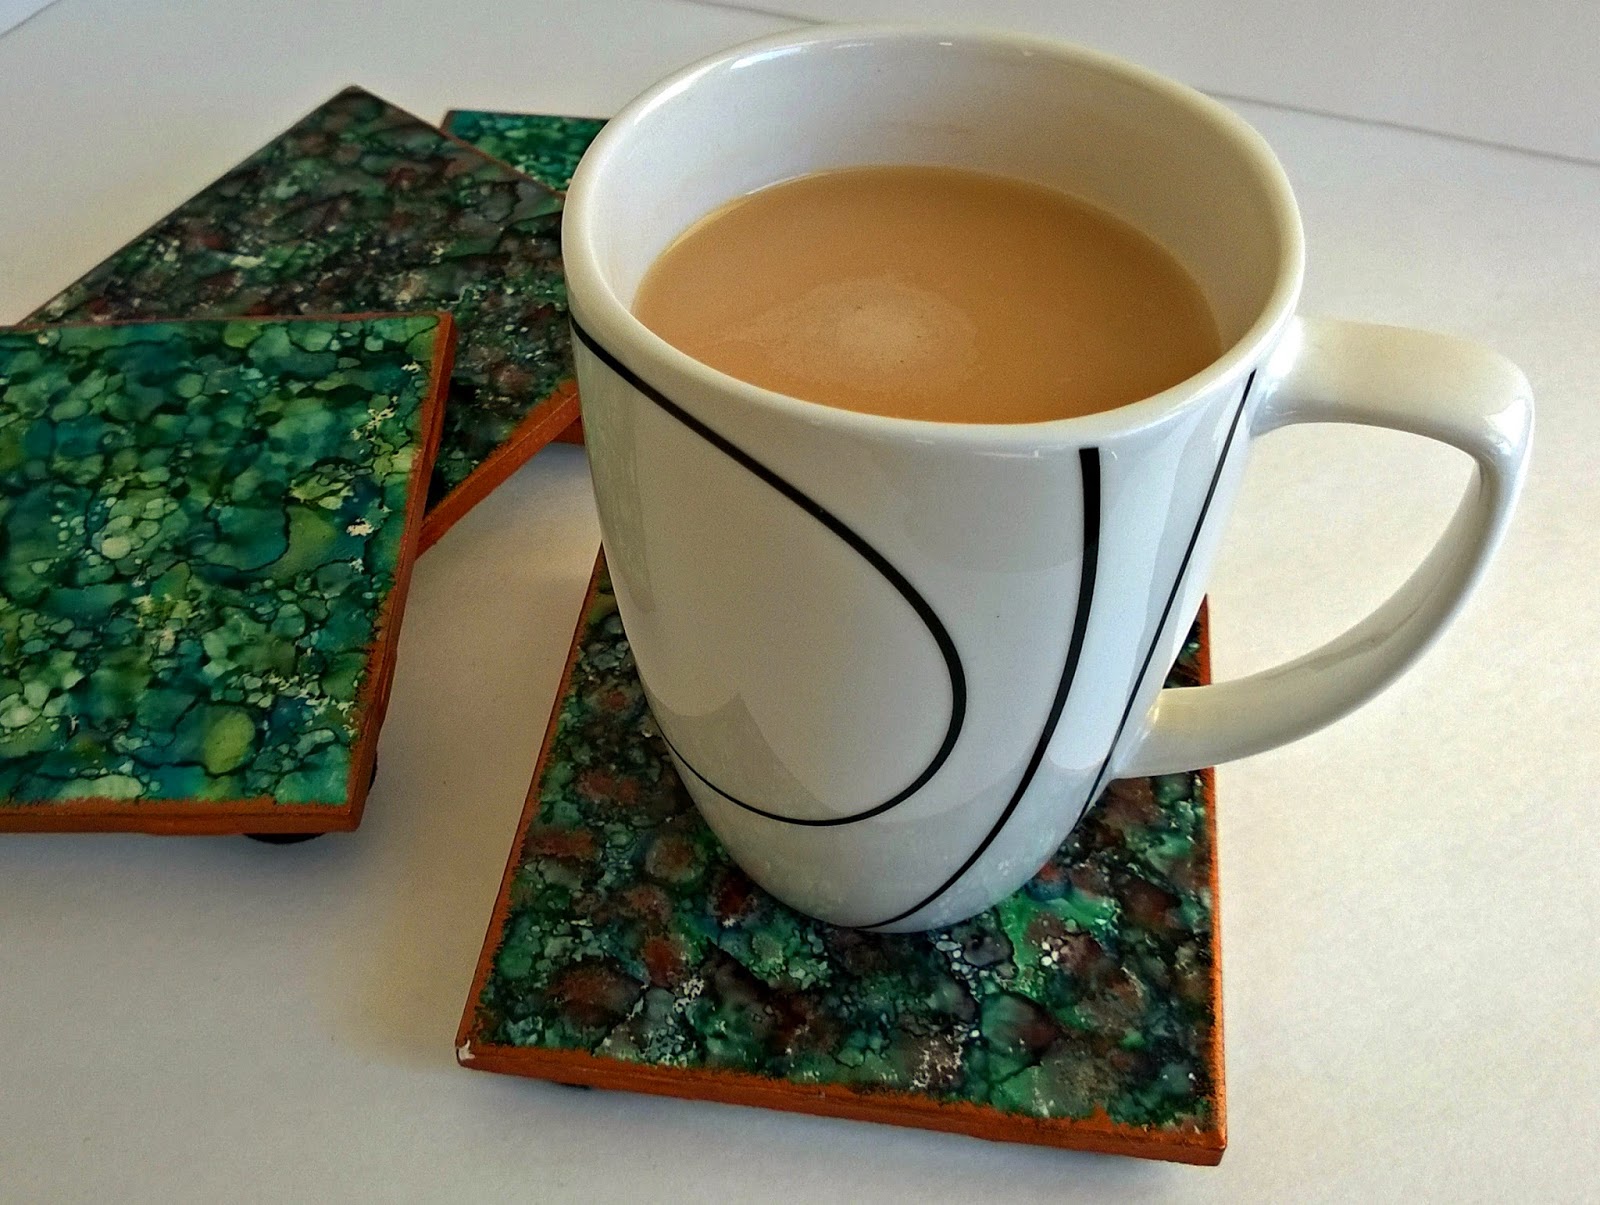
What did I cook this month? While I was cooking everyday, I added a few of my top recipes to share with you. My local Farmer's Market will be open twice a week starting April 24th, so I am hoping to add more recipes for you in the spring and summer months.


We welcomed Spring with open arms and up-cycled a mirror into a pretty springtime chalkboard, perfect for our Easter mantlescape (to be revealed mid-April). 


Looking to next month

I have more Easter crafts planned for the month of April, as well as a new series starting. Look for "Farmer's Market Thursdays", where I will spend $20 at my local Farmer's Market and create recipes using my finds. Talk about eating seasonally and locally!
 
As always, I love hearing from my readers. Feel free to drop me a comment or tag @creativemamamessyhouse on Instagram. I would love to see and hear about your creativity!

Thursday, March 27, 2014

Quick Fix - Picture Frame Hanger


The other day I up-cycled a mirror into a really cute chalkboard. I have no idea what it's original use was, but it was too small for any practical purpose. The frame is about a foot square, with a small 4" mirror inside. It didn't have any hardware to mount it to a wall, so I made my own! Using some craft wire and two thumb tacks, I rigged my own picture hanging mount so I could hang my new spring chalkboard.


As you can see in the image, I pressed a thumbtack into the wood on either side of the mirror. You might need to hammer them in gently to get started, depending on how hard the wood is. Then I wrapped the wire once around each pin and cut it, leaving a 2-inch tail. I wrapped the tails around the thumbtacks to secure the wire without needing to make knots.

I now have a cute decor item that I made for just a few dollars. I put it up in my kitchen so we can see it when we walk in. Since I hung it using a Command hook, I can easily move it around the house. I hope it will become part of my Easter mantle. I'm working on some other Easter decorations to go with it, including an Easter egg tree and a bunting. I have so many ideas up on my Easter Fun Pinterest board to choose from for inspiration.


My chalk pen came in yesterday, and let me tell you, I like it much more than writing with a stick of chalk. My handwriting is still pretty bad though. If you want to see really bad, you should see me try to write in chocolate on a cake...

I do not recommend using this technique on anything heavy. My frame weighed less than a pound, and did fine with this method. if you had a picture hanging kit, it would probably be better for anything larger or heavier. 

Wednesday, March 26, 2014

Easy Weeknight Dinner, Roasted Shrimp and Broccoli

After running around after a toddler all day, I am tired! While he is napping, I am catching up with social media, editing photos, and preparing material for the blog. Today, I wanted to showcase this simple supper that can be made in just about 20 minutes. Last week, Jenna from A Savory Feast posted a great link on how to roast broccoli, which reminded me about my recipe for Roasted Shrimp and Broccoli.


This recipe is simple enough for a weeknight supper, but impressive enough to serve at your next get-together. Because all the cooking is done in your oven, it can be doubled or tripled, and still cook within the same window of time. This dish is super healthy too, with lean shrimp and vitamin-rich roasted broccoli. This dish gets its flavor impact from lemon, red pepper flakes, and a drizzle of good-for-you olive oil. I serve it over orzo with a sprinkle of feta cheese and pine nuts to make it a complete meal that satisfies everyone.


Roasted Shrimp and Broccoli
Serves 4

Ingredients:
  • 1 pound raw shrimp
  • 1 pound broccoli, about 2 crowns, cut lengthwise to utilize both stem and florets
  • 1 lemon
  • 1/2 teaspoon crushed red pepper flakes
  • Olive Oil
  • Salt and Pepper, season to taste
A note on shrimp: If you can find fresh whole shrimp (yes, head-on) they will give the dish even more flavor. The best I can do at my local store is frozen shell-on, tail-on. I clean the vein out, and then roast them without peeling. Peeled, deveined shrimp will also work in this recipe.

Directions:
  1. Preheat oven to 425. Toss shrimp and broccoli with a good drizzle (2 tablespoons) of olive oil, salt, pepper, zest and juice of one lemon, and red pepper flakes.
  2. Lay out on a baking sheet, shrimp on one side and broccoli on the other. If you are making a larger batch, you can put broccoli on one and shrimp on another. There is a good reason for this step, I promise.
  3. Roast for 13-15 minutes. At this point, remove the shrimp and check the doneness of the broccoli. I prefer my broccoli to be very al dente, so I take mine out at this point. If you like a softer roasted broccoli, leave it in for 5-10 more minutes. If you separated your shrimp and broccoli, it is very quick to take off the sheet pan while leaving your broccoli put.
  4. When the broccoli is done to your liking, combine the shrimp, broccoli, and any juices remaining on the sheet pan, and serve. Yum!
Broccoli and shrimp on sheet tray, separated, before roasting

Printer Friendly Version

Monday, March 24, 2014

Spring Chalkboard from an Up-Cycled Mirror


I had family come over yesterday for a barbeque, so I have been cleaning my house trying to make it look halfway decent. With a very active toddler, there is only so much I can do during the week. I managed to take some bags and boxes to Goodwill to donate, but before I did, I rummaged through them one last time, just to make sure that the kids had only thrown donate-able items and not broken toys or clothes with holes in them.
 
I'm glad I did too, because I found this gem in there! I don't know where this mirror came from, or what its purpose was, but I had previously set it aside "to do something with" years ago, and put it in the Goodwill box when 6 months or so had passed. I'm glad I discovered it again, because this time I had a purpose for it!
 
I made this cute little chalkboard, perfect for dressing up the mantle or entryway!
 
Here was my inspiration:
$2 Trash to Treasure Chalkboard by Making Home Base


Mirror
White acrylic paint or primer
Chalkboard paint-See Note 
Mod Podge
1 square of scrapbook paper (I went to Michael's and got 1 for $0.59)
Brushes
Painter's tape
 
Not pictured:
Rubber scraper for smoothing out air bubbles in the paper
X-acto knife for trimming the paper
Sandpaper for smoothing the edges of the paper after trimming
 
Note: I recommend finding chalkboard paint specifically for use on glass or glazed ceramic. I used the Martha Stewart chalkboard paint, and it was difficult to use on glass. Live and learn, I will use it for other chalkboard applications in the future.
 
1. Prime the frame using primer or white acrylic paint. I covered the mirror with painter's tape first.
2. Add the chalkboard paint. Follow the directions on the bottle. Most will need to let cure for at least 24 hours after it is dry before using chalk on them.
3. Time to Mod Podge. I applied Glossy Mod Podge to the back of the scrapbook paper, then smoothed out any bubbles with a rubber scraper (found at your restaurant supply store for $0.79).
4. I used the X-acto knife to cut out the mirror/chalkboard and to trim around the edges. This way I didn't have to be as accurate when applying the scrapbook paper.
5. Apply two coats of Mod Podge to the top to seal everything. Once dry, lightly sand the edges.
6. Your new chalkboard is now ready to be part of your Spring or Easter décor!


This was my first attempt using chalkboard paint, I definitely learned some things! I will be decorating my mantle for Easter in the upcoming weeks and I plan to feature this. As you can see, I am not the best artist, so my stick figure people and fried-egg flowers will just have to do!
 
I remembered I don't like writing in chalk (memories of grade school writing on the blackboard). I have ordered a chalk pen that I hope will make writing easier.


Friday, March 21, 2014

Happy Spring! My favorite sights, sounds, and smells of spring


Yesterday officially marked the first day of spring. Here, it has felt like Spring since February. We have been spending loads of time at our local parks playing and having picnics. I found a great picnic blanket on Zulily for $24.99. It has a waterproof side to keep bums dry on damp grass, and comes with its own carrying tote for easy transportation. We're pretty certain it will get lots of use over time!

Springtime signifies rebirth and newness. Days get longer and the temperature rises; spring is a time to get outside and enjoy life. I have family coming over on Sunday for a barbeque so we can celebrate our sons' birthdays, both of them are March babies. Our daughter (6th grade) lives out-of-state with her mom during the school year, is also a March baby.


Here are some of my top 3 sights, sounds, and smells of spring, in no particular order.

Sights: 
  • Flowers budding on trees: Spring buds means summer fruit! While we are still months off from having fresh fruit from the backyard, seeing the little green plums just makes me all smily inside!
  • Baby animals: Spring is the season for babies! We love watching for calves on our way to Grandma's house, and seeing the ducklings at the park.
  • The first strawberries at the Farmer's Market: While we are still enjoying all the citrus the market has to offer, strawberries are beginning to make an appearance, yummy!

Sounds:
  • Birds chattering, and baby birds cheeping: I keep a squirrel-proof bird feeder by my kitchen window to see and hear the birds go by. My mom's barn is aflutter with birds swooping in and out.
  • Kids playing outdoors: The weather warms up and kids are more willing to play outside. The community park gets more visitors, so more kids and opportunities for my kids to know their neighbors.
  • Rainstorms: I love the sound of rain on the window, snuggled up indoors with some hot tea, or splashing in puddles in a pair of rainboots!

Smells: 
  • Orange Blossoms: Our neighbor's yard is full of citrus trees, and the aroma of the orange blossoms is wonderfully intoxicating.
  • Fresh Dirt: Spring is the season for planting! I find therapy in gardening, digging in the dirt, weeding, adding new color to the front yard and adding new vegetables and herbs to the backyard.
  • Barbeque smoke: Warmer weather means more cooking outdoors. I use an old-fashioned Weber kettle grill, the same kind my dad taught me on when I was a kid.
I want to hear from you! What are your favorite sights, sounds, and smells of springtime that you love or are looking forward to experiencing? What reminds you that warmer days are on the way?

Tuesday, March 18, 2014

Spinach, Kale, and Garlic Pizza (and tips for making pizzas at home)

St. Patrick's day is over, are you sick of green yet? I hope not, but if you are, this spinach, kale, and garlic pizza might just change your mind. A pizza with a full serving of vegetables, you can't feel guilty about eating that! With kale featured in both the pesto and on top of the pizza, you get a double dose of super greens. Just don't be trying to kiss any vampires afterward, since garlic gives this pizza a kick! Add a soft-cooked egg on top, and you have a perfect vegetarian lunch or dinner.

Spinach, Kale, and Garlic Pizza - with Kale Pesto recipe

You can make this pizza using store-bought pizza dough, or make a batch of pizza dough at home ahead of time. (I hope to have a pizza dough tutorial up soon, I have a dear friend who is a "master pizza-man"- I have learned quite a few lessons from him.)

Some tips to making pizzas at home:
  • Go ahead and get yourself a pizza stone and a pizza peel. I found mine for about $15 each. They are a worthwhile investment for making pizzas, baguettes, or other crusty artisanal breads at home.
  • Use a hot oven. To get that authentic pizzeria crust, I crank my oven to 450-475. Make sure to place your pizza stone while the oven is cold to prevent cracking. Don't remove it from the oven until completely cooled. (I leave mine in overnight just to be safe.)
  • Prepare your dough ahead of time: Most pizza dough recipes can be made up to 2 days in advance and left to slowly rise in your refrigerator. It will result in a more tender, flavorful crust.
  • Mise en place! Just a fancy word for get organized. Set out your sauce, cheese and toppings so you can have a pizza factory. When we have pizza nights, I like to make three or four pizzas and let my family join in on the fun of assembling them. I put vegetable toppings on one large plate and meat toppings on another, that way you can mix or match and find new flavor combinations.
  • Balance is key: Don't overload your pizza with toppings. It will take longer to cook, resulting in a soggy crust.
  • Think outside the box. Feel free to "chef" it up at home! Some of my favorite pizzas have been complete originals when it comes to topping them.

Spinach, Kale, and Garlic Pizza
Makes one 12" pizza

Ingredients:
  • Pizza dough, homemade is best
  • Fresh mozzarella cheese-sliced and pressed between paper towels
  • Olive oil
  • 2 cloves garlic, sliced thin
  • 2-3 cups baby spinach/baby kale mix (or equal parts of each)
  • Parmesan cheese
  • Basil-Kale Pesto, see below, or substitute in your favorite pesto
  • eggs, optional

Directions:
  1. Heat your oven. Make sure that it is really hot so you don't lose a lot of your heat when transferring your pizza into the oven.
  2. Stretch your dough into a disk, leaving a bit of a border around the outside. I always hand stretch it, so if it isn't a perfect circle, don't worry!
  3. Heat a sauté pan over medium-high heat. Add a tablespoon of olive oil and the sliced garlic, let sweat for 30 seconds, or until fragrant. Add your spinach and kale, and let wilt down. Remove from heat.
  4. Spread a layer of pesto on the dough, then top with the sliced mozzarella.
  5. Squeeze out any moisture out of the spinach/kale/garlic, then evenly top your pizza.
  6. Grate a bit of parmesan over top, then bake until the crust is browned (10-15 minutes)
  7. Top with soft-cooked eggs and a bit more fresh parmesan, and enjoy!
Printer Friendly Version


Basil-Kale Pesto
Makes about 2 cups

 
Ingredients:
  • 1 clove garlic
  • 1 Tbsp. lemon zest
  • 1/2 cup pine nuts
  • 1 cup packed basil leaves
  • 1 cup kale, ribs removed
  • Olive oil
  • Salt

You can make a huge batch of this at the end of summer, and store in your freezer in zip-top bags to have home-made pesto year round.

Directions:
  1. Mince the garlic in the food processor with a pinch of salt.
  2. Add the lemon zest and pine nuts, basil and kale; pulse until ground into a paste. 
  3. While the machine is running, drizzle olive oil in until desired consistency.
  4. Season to taste with salt.
Printer Friendly Version

Monday, March 17, 2014

Emerald Isle Jigglers

Jello is definitely a treat for my children, since I try not to make it often. I think these Emerald Isle Jigglers are the perfect little way to celebrate St. Paddy's Day, and they couldn't be simpler.
 

Emerald Isle (Lime Jello) Jigglers
Makes one 9"x13" pan

You Will Need: 
3 large (6-oz) packets of lime Jello
1 1/4 cup sweetened condensed milk
Boiling water
Cooking spray
9x13 pan

This is a two-step process, but each layer is equally simple. The first layer is lime Jello Jigglers. Let it set and add a creamy Jello layer with the addition of condensed milk. This was such an easy dessert, my two-year old helped make the first layer before we put him down for bed. I finished the second layer before I went to bed and let it set up in the fridge overnight. (Hence no pictures of the step-by-step process, but it's so easy, you probably don't need them!)

For the bottom layer: Add 2 packets to 2 1/2 cups of boiling water. Stir and let dissolve for 3 minutes. Spray your 9x13 with cooking spray, then carefully pour your Jello in. Pop any bubbles with a toothpick and place in your fridge (uncovered) to set up for 1-2 hours.

For the top layer: Add 1 packet to 1 1/4 cup boiling water. Stir and let dissolve. Pour in 1 1/4 cup of sweetened condensed milk (I eyeballed it from a 14-oz can). Stir gently to combine. Slowly pour on top of the first layer, popping any bubbles. Return to fridge and let set 4-5 hours, or until really firm.

To serve, set your pan onto a hot towel for a few minutes, and slice with a sharp knife. Alternatively, you can cut with festive cookie cutters for even more St. Patrick's day cheer!

St. Patrick's Day Kiss Party Favors

Happy St. Patrick's day! I have been having fun these past few weeks putting up a few decorations and making sure I have something green to wear. I made these little favors for fun, but you could use them to decorate a mantle or surprise your kids/spouse with a bit of chocolate goodies. These would also make a cute place card/favor for hosting a dinner party. I had all the supplies on hand, making this a no-cost craft (my favorite kind!).


First things first, the supplies.
  • Tall shot glasses: I bought these at Target in the dollar section a few years back. Try your local dollar store, thrift store, or even a restaurant supply store for inexpensive shot glasses.
  • The printable: if you are following this blog you might recognize these from my St. Patrick's day photo props. They are the perfect size for this!
  • Craft sticks, glue, and a bit of tape: to put the printable "on a stick"
  • Hershey's Kisses and mini M&Ms: I simple separated the green ones out, or you could pick up a bag of green M&M's from your local party store. Really, any small green candies would work in this.
1. Stack 3 Hersey's Kisses inside your shot glass.
2. Pour some green M&M's on top, gently tapping to get them all the way to the bottom.
3. Stack another 3 Kisses on top.
4. Pour in another handful of M&M's, tapping them down a bit.
5. Add your printable on a stick, and there you have it. Super simple, super cute party favors!


Saturday, March 15, 2014

Three Dollar Photography Backdrop

After reading up on blog photography, I got a better understanding on how to really make your pictures stand out for your blog and on Pinterest. I saw some behind-the scenes photos and found some great tips for improving your photography skills. I pinned a bunch on my Pinterest board under Tips and Tricks-Blog and Photography.

The first thing I needed to improve my photography was a blank canvas to act as my backdrop. Think of it as step zero. I picked up some foam-core board at my local dollar store, taped two together for a sturdy background, then placed the third underneath for the base. When not in use it folds flat, perfect for storage.

Without a backdrop, I would have to creatively avoid eye-sores like my well-loved/well-abused kitchen table, and my unorganized pantry while still trying to get blog-worthy shots. I am still learning the ins and outs of the lighting in my home, so having one less thing to worry about is a plus!


I can use it as a white background, like with my morning Chai tea...


...or change my color palette simply by adding a fabric drape. Here is a Mandarin Ginger Fizz behind a striped teal number.
Speaking of fabric, doesn't it just remind you of spring? It reminds me of robin's eggs. I think I'll pick up a few more yards (and learn to sew while I'm at it) so I can make a fabulous spring skirt out of it!

Wednesday, March 12, 2014

Perfect Chewy Chocolate Chip Cookies

I'm a bit of a traditionalist when it comes to cookies. There is nothing wrong with a perfect chocolate chip cookie, still soft and slightly warm from the oven, with a glass of cold milk. No nuts, no Nutella, no add-ins. I would never pass up cookies that have nuts or mix-ins, and my chocolate chip cookie dough is versatile enough that if you wanted to add some pecans or toffee chips, it wouldn't affect the outcome of the cookies. But today I simply wanted an old-fashioned chocolate chip cookie that didn't require much prep or patience.


This recipe doesn't require your butter to start at room temperature, so you can make this recipe in a moment's notice. Instead, you simply melt the butter in the microwave before creaming the sugar, eggs, and vanilla together. If you melt the butter in your work bowl, this is a one bowl cookie (yay for less mess!). This cookie can be made in a stand mixer, but I prefer to use my hand mixer and my Pyrex mixing bowl.
 
I use a 1 tablespoon cookie scoop to make my cookies small and uniform. Smaller cookies mean you can eat 2 and not feel guilty. Also, you can make more cookies with the same amount of dough, so you can put some in the freezer for another day. I simply roll the extra dough into a log in parchment, twist the ends (like making compound butter) and place flat to freeze. To bake from frozen, let defrost on the counter for about 20 minutes, then slice into 1/4 inch coins and add 1-3 minutes to your baking time, depending on the size of your cookies and how chewy or crunchy you like them.


Perfect Chewy Chocolate Chip Cookies
Makes about 5 dozen (but I always bake half and freeze the rest of the dough)
For a printer-friendly version of this recipe, click here

Ingredients:
1 stick (1/2 cup) unsalted butter
3/4 cup packed brown sugar
3/4 cup granulated sugar
2 eggs
1 teaspoon vanilla
1 teaspoon kosher salt
2 1/4 cups all purpose flour
3/4 teaspoon baking soda
1 bag (12 oz) semi-sweet chocolate chips

Method:
Preheat oven to 375F. In a microwave-safe large bowl, melt the butter using 30 second intervals. It doesn't have to be 100% liquid, but it does have to be soft. Add the sugars, eggs, vanilla and salt. I like to add the salt in this step since I use kosher salt and it gives it a chance to dissolve. Cream together until emulsified. Stir in flour and baking soda (sift if you want, but it's not necessary). Stir in the chocolate chips until uniformly spread through the dough.
Line your baking sheets with parchment. No matter what cookie I bake, I always use parchment to prevent sticking. Using a small cookie scoop or tablespoon, make rounded balls of dough. Make smooth balls by rolling the dough in your palms, and place 2 inches apart. Bake for 12-14 minutes, until light golden brown. They will look soft when you take them out, but set. They will reach chewy perfection as they cool. If you let them get too dark in the oven they will be crunchy chocolate chip cookies, but no less delicious. If your goal is to bake a more crunchy cookie, bake for 15-16 minutes.


Shared with
Made with Love Mondays, hosted by Javelin Warrior
For a full list of all my link-ups, visit My Link Ups

Saturday, March 8, 2014

My top 5 (non-cookware) kitchen must haves


Part of making my kitchen a sanctuary and making cooking an enjoyable experience is the added touches that I have included in my kitchen. All of these are in the recess behind my kitchen, where I am lucky enough to have a fabulous window which lets in plenty of light and fresh air, perfect for keeping potted plants, so let's jump right in!

1. Window herb garden

Having herbs within reach of my stove makes cooking healthy dinners a snap. I can snip a sprig or two without having to head outside, which is extremely helpful when it is wet or muddy or dark out since I don't have hardscaping or very good outdoor lighting. When they outgrow the pots, I can plant them in my backyard garden. I also store my garden shears on the shelf above, so I always know where they are when heading to the garden.


2. Candles

I'm a sucker for a pretty candle, especially if it smells good. While I don't like to burn scented candles while cooking or eating, I do like to light it while I am washing dishes or in the evening, for ambiance. My elephant pot usually acts as my wedding ring holder while washing the dishes, but it holds a tea light rather well, too!


3 (and 4). Hand soap and lotion

I often suffer from dry skin, especially in the winter. By keeping some near the sink, I can easily slather some on after washing dishes. I prefer to have a separate hand soap from the more concentrated dish soap. I love a light citrus-y scented hand soap and lotion, especially when working with "smelly" ingredients.
 

5. Blinds


My kitchen faces the setting sun, so it gets extremely warm, even without the oven on. The last few hours of daylight are blindingly bright, which of course are the hours when I am trying to get dinner prepped and cooked. I love my cordless blinds, they have such a streamlined look. They also double as cover to hide my extra decorative vases and bowls, which I store on the shelf above the sink.


So tell me, what are some of your favorite extras in your kitchen?
 

Friday, March 7, 2014

Kitchen Confessions - Fess Up Friday

Thank goodness it's Friday! I don't know about you, but I'm ready for the weekend. S is fully engrossed in "let me do it myself" so more messes for Mommy. Thankfully he's pretty willing to grab a broom and start helping, after he makes a total mess, of course! This morning was Frosted Mini Wheats. He was trying to pour himself some cereal and missed the bowl. Cereal and bottom-of-the-bag crumbs went all over the kitchen table. Instead of making a big deal about him making a mess, I calmly grabbed the broom and started sweeping. I even let him wipe the crumbs to the floor so I could sweep them up, he got a kick out of that!

Fess Up #1: I burned the bacon last night. So much for our BLT burgers with avocado, instead we had cheeseburgers with tomato and avocado, which was still super yummy. My bacon wasn't a little burned, it was black.  I was trying to cook it on the stovetop, while I was cooking the hamburgers and fry the tater tots. I put a cover over it so it wouldn't splatter and forgot about it. You know the saying "out of sight, out of mind"? Well, that's me almost every time I try to cook bacon. No wonder I prefer to cook my bacon in the microwave.

Fess Up #2: My kitchen is a disaster right now. By Friday morning, it has a week's worth of splatters, streaks, spills, and Mini Wheats crumbs (maybe its time for a dog?). My kitchen is a workhorse. On average, I cook two to three times a day, so there is always dirty dishes and a messy stove. After cooking, I'll clear and wipe the table, load the dishwasher, and run a broom over the floor. I typically leave the big stuff for the mornings, when I have more energy. Some nights, like last night, I don't even clean up after dinner because I'll fall asleep putting S down for bed.

Fridays are my days to really clean my kitchen. I make sure that the pots and pans and other non-dishwasher things are washed and put away. I remove the burners off the stove and clean the stovetop, and I remove everything off the counter and scrub the tiles. I also try to clean the floor and mop, although I'll admit this step doesn't always get done. 

I took a break from cleaning to write this, so now back to the kitchen!

Wednesday, March 5, 2014

Decorating for St. Patrick's Day: Photo Prop, Free Printable

With St. Patrick's Day coming, I think most people are a little "green" with envy. But why should those with Irish blood have all the fun? Here are two printable photo props so we can all have a little fun! I got the inspiration for these from last month's Valentine's Day on a Stick.
 
Cut them out, fold them over a craft stick, and get snapping! Or use them to decorate around your house, maybe stick them in a potted plant, or in a candy dish on the mantle, or hide them somewhere for that special someone to find!


Monday, March 3, 2014

Decorating for St. Patrick's Day: Lucky Shamrock Bunting

Wow, what a whirlwind weekend! My youngest turned 2 years old, we had family come for a visit. Since we will be having a joint birthday party at the end of the month for S and Big Brother, we just had a low-key birthday dinner with cupcakes for dessert Saturday night. This weekend, Elder Scrolls Online hosted a beta event, so I stayed up a bit later than usual. Yes, I play video games on occasion. More like I try to play video games but at the end of the day, sleep usually wins out.

 
I also created this bunting to decorate for St. Patrick's day, using items I had on hand. Remember our marble painting from last week? I told you I was going to use them in a St. Patrick's day craft, so here they are!

Our green and gold marble painting were perfect for this. They got a little curled after they dried, so I flattened them out under a stack of heavy books overnight. I created a template from a quick search on Google images and traced it onto some cardboard. I punched holes in either side, and strung it up on cream colored yarn. I made the bunting to fit my fireplace, but then moved it to the windows in our breakfast nook to keep little hands off of it. I made two smaller bunting for the small windows using a similar template. The length of the larger bunting is 56", the smaller ones are 26". I hung them all using small Command hooks, that way I didn't have to use unsightly tape or drill holes in the wall.


It is really difficult to take pictures of my breakfast nook during the day since it is completely backlight. Here you can see what the finished product looks like, as well as see the two smaller buntings that I added to the side.

I love the way it turned out! It was a lot of tracing and cutting (17 four-leaf clovers and 10 three-leaf), but otherwise a simple craft to take an afternoon on, and a great way to showcase my son's art!